To connect a bank account in Luna first you will need to log into your Luna account.
Once logged in to your LUNA account go to the 'Transactions' section in the left hand menu.
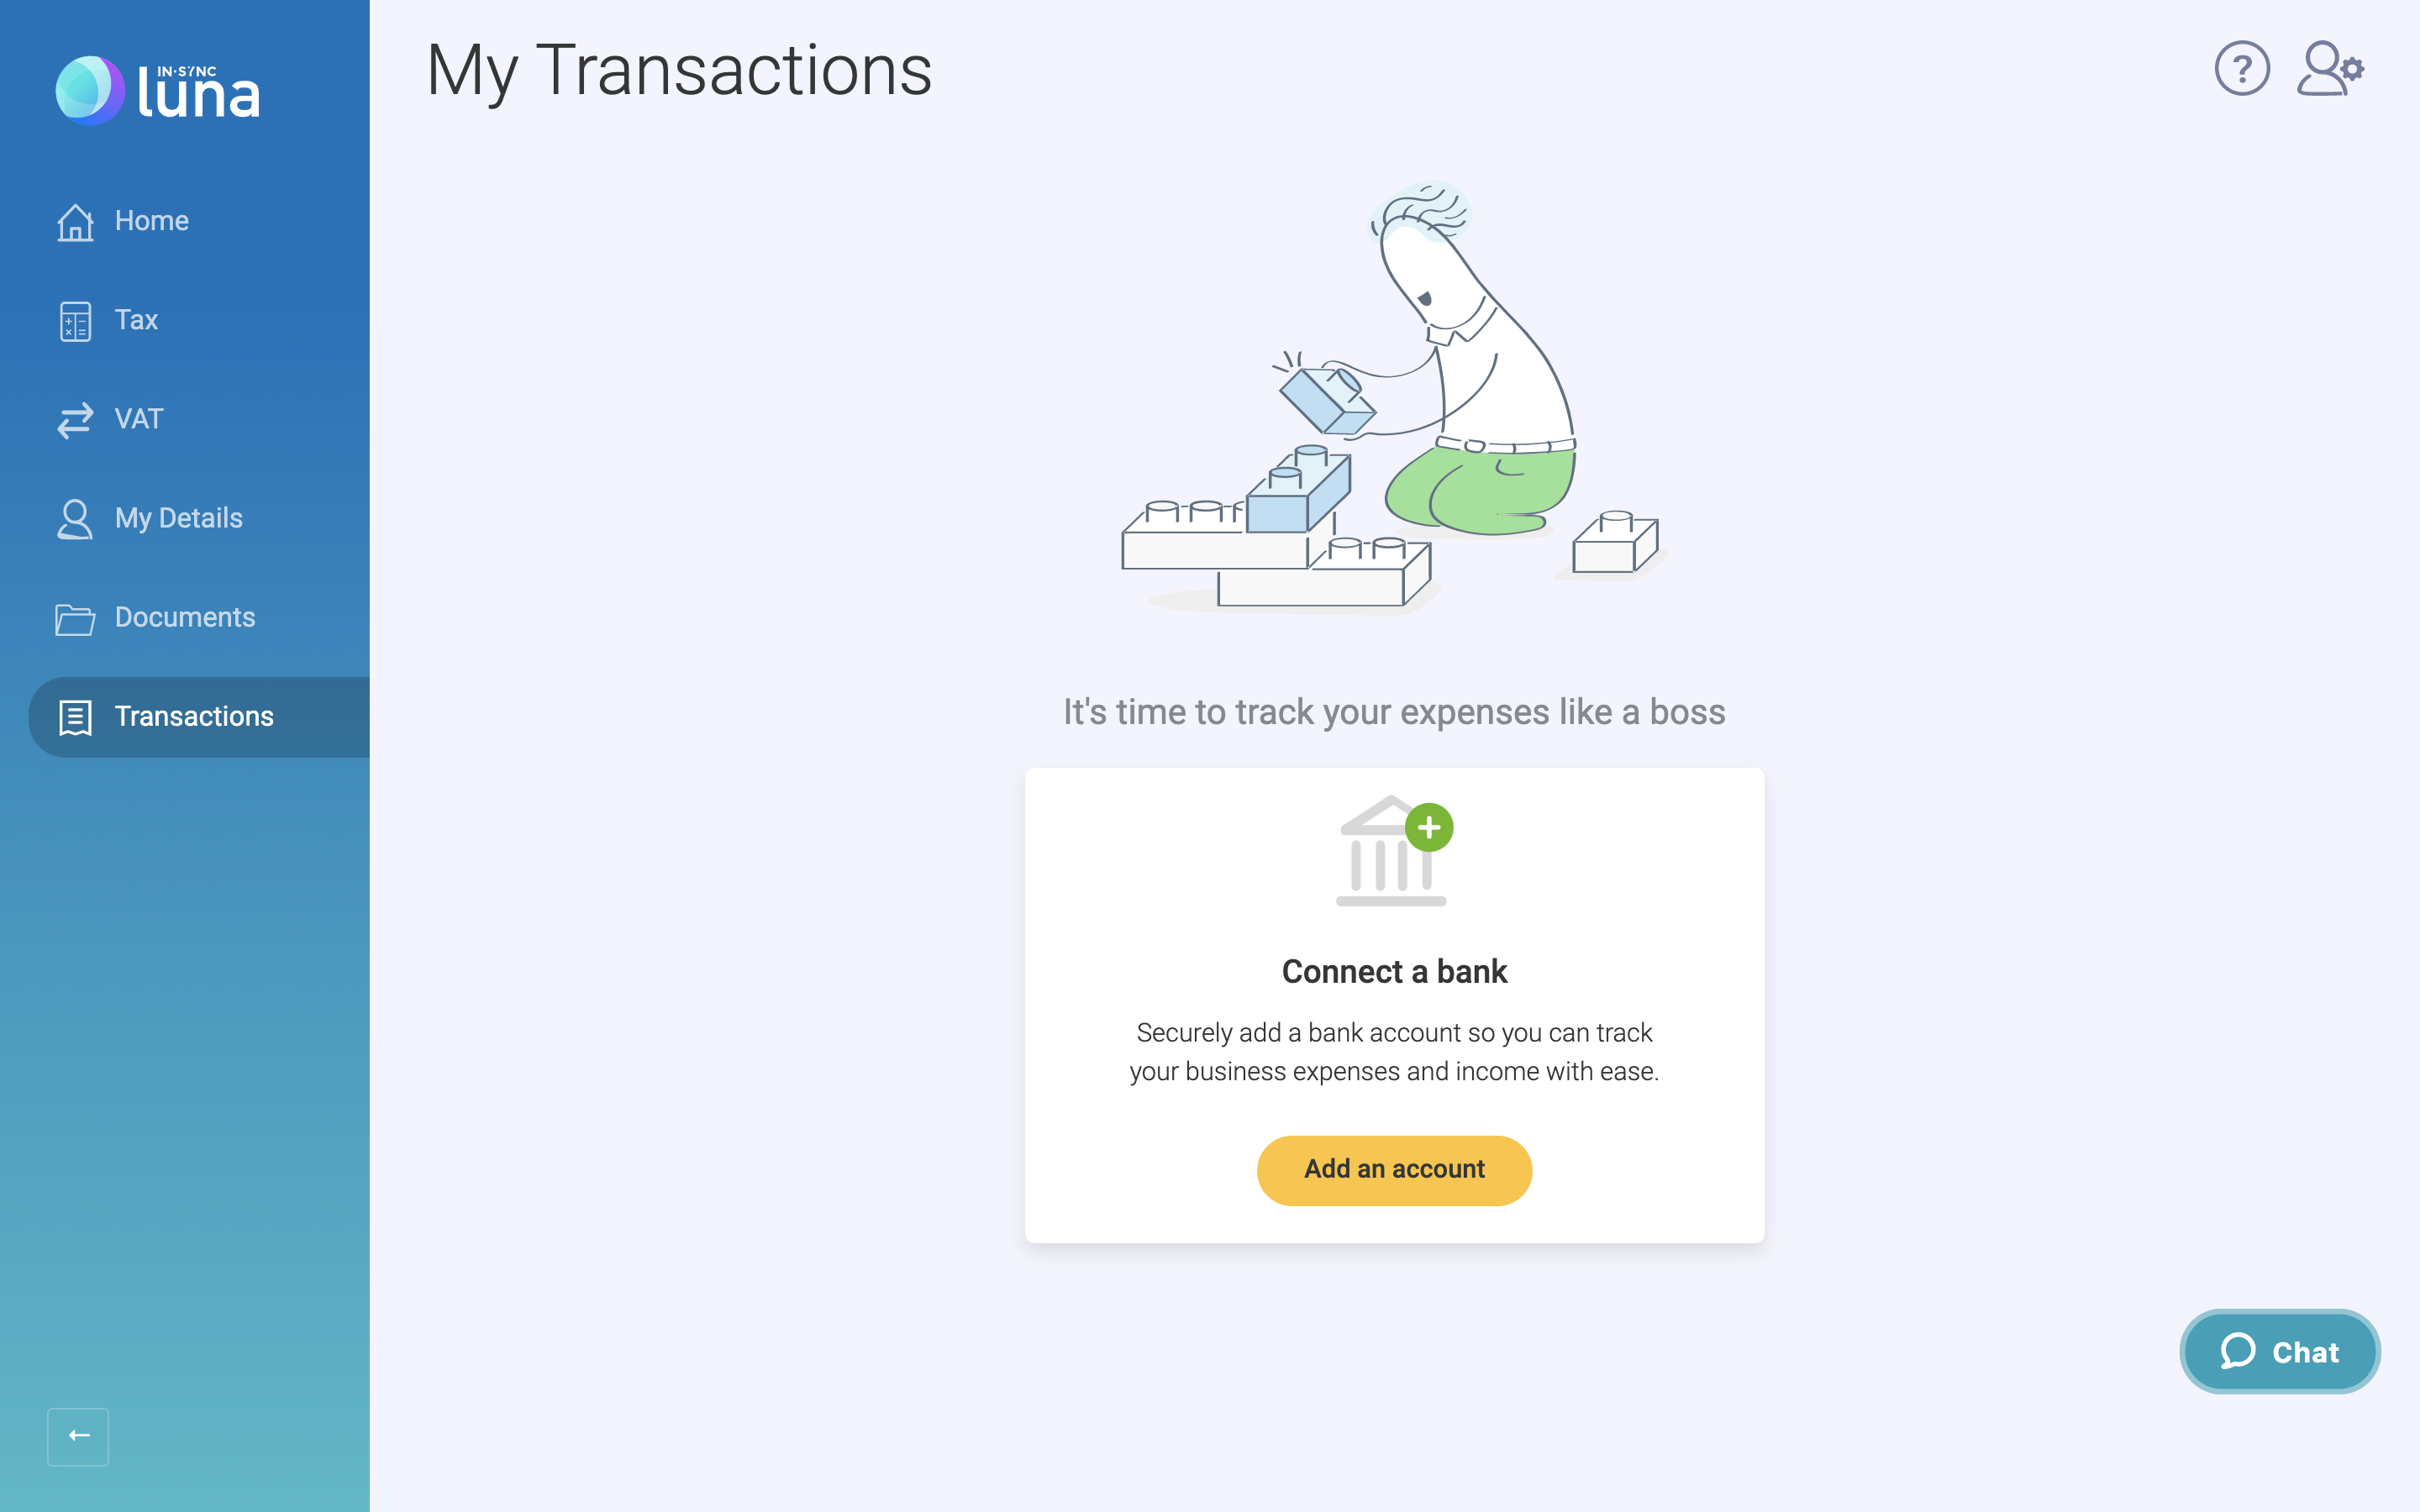
Next, click on ‘Connect a bank’ . You will then see a list of all the banks available to connect to.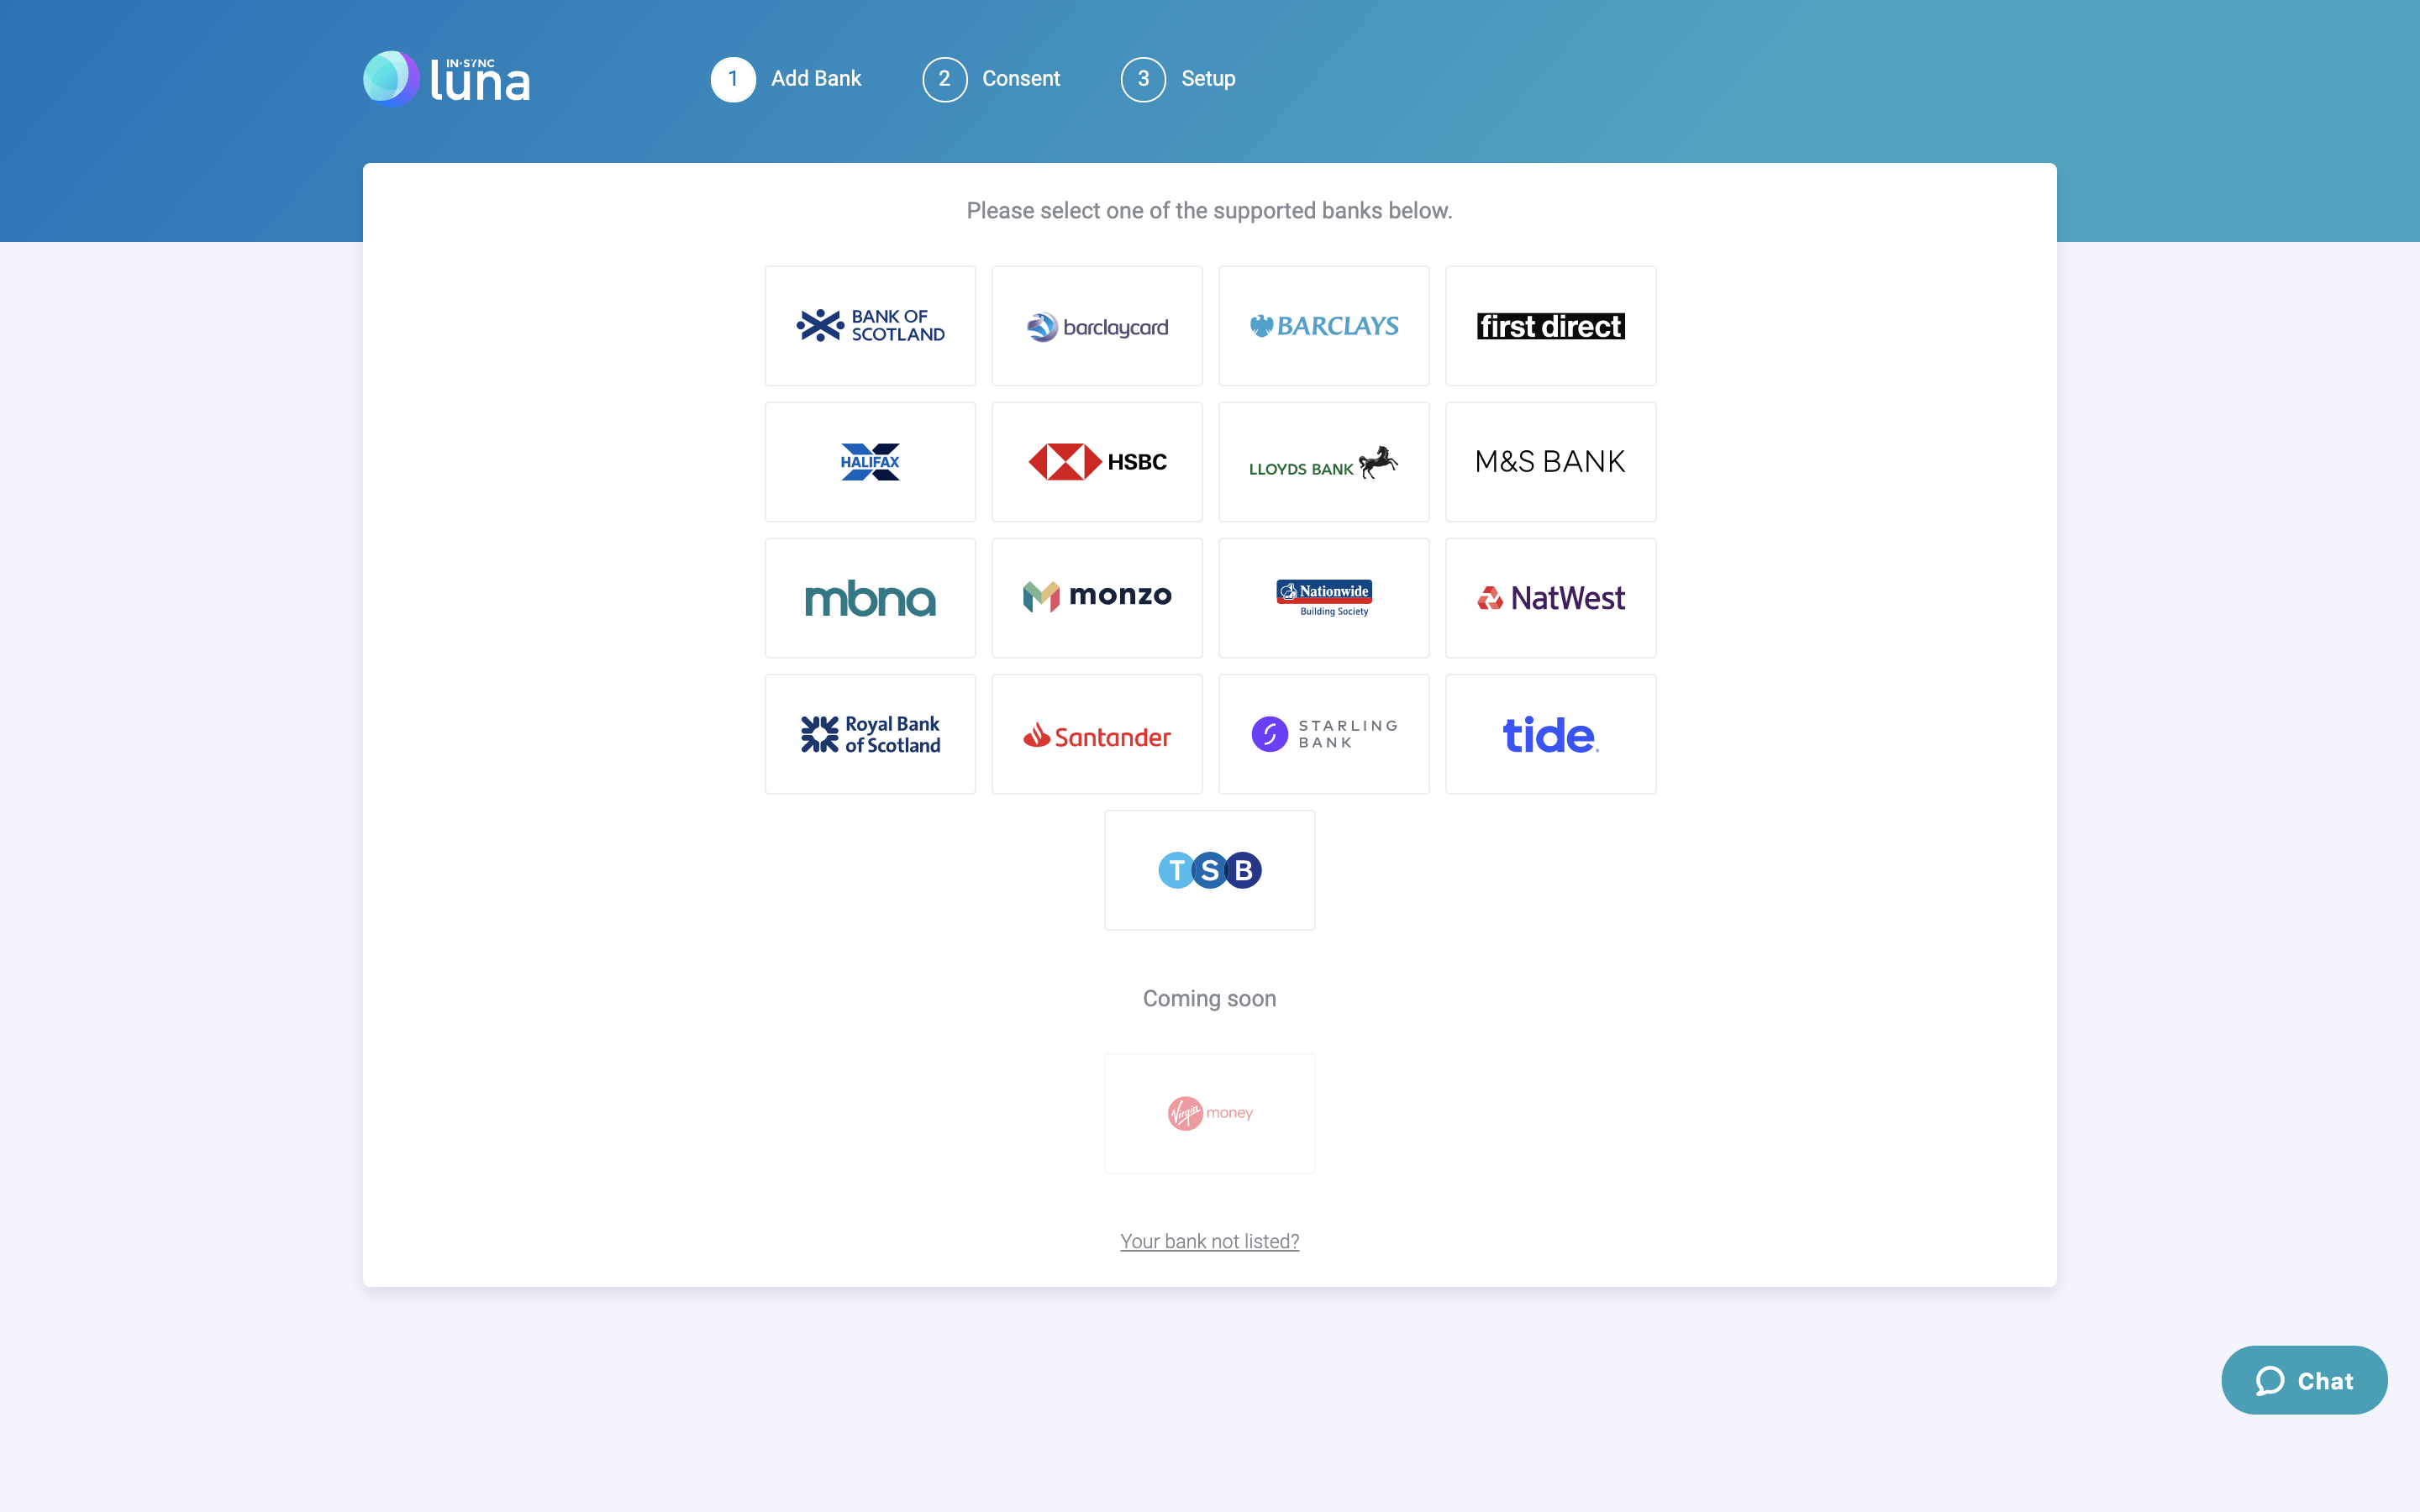
If you do not see your bank listed you can submit a request at the bottom of the panel for your bank to be added in future.
Once you have selected your bank, a pop up will appear explaining what your transactions information will be used for and what will happen next.
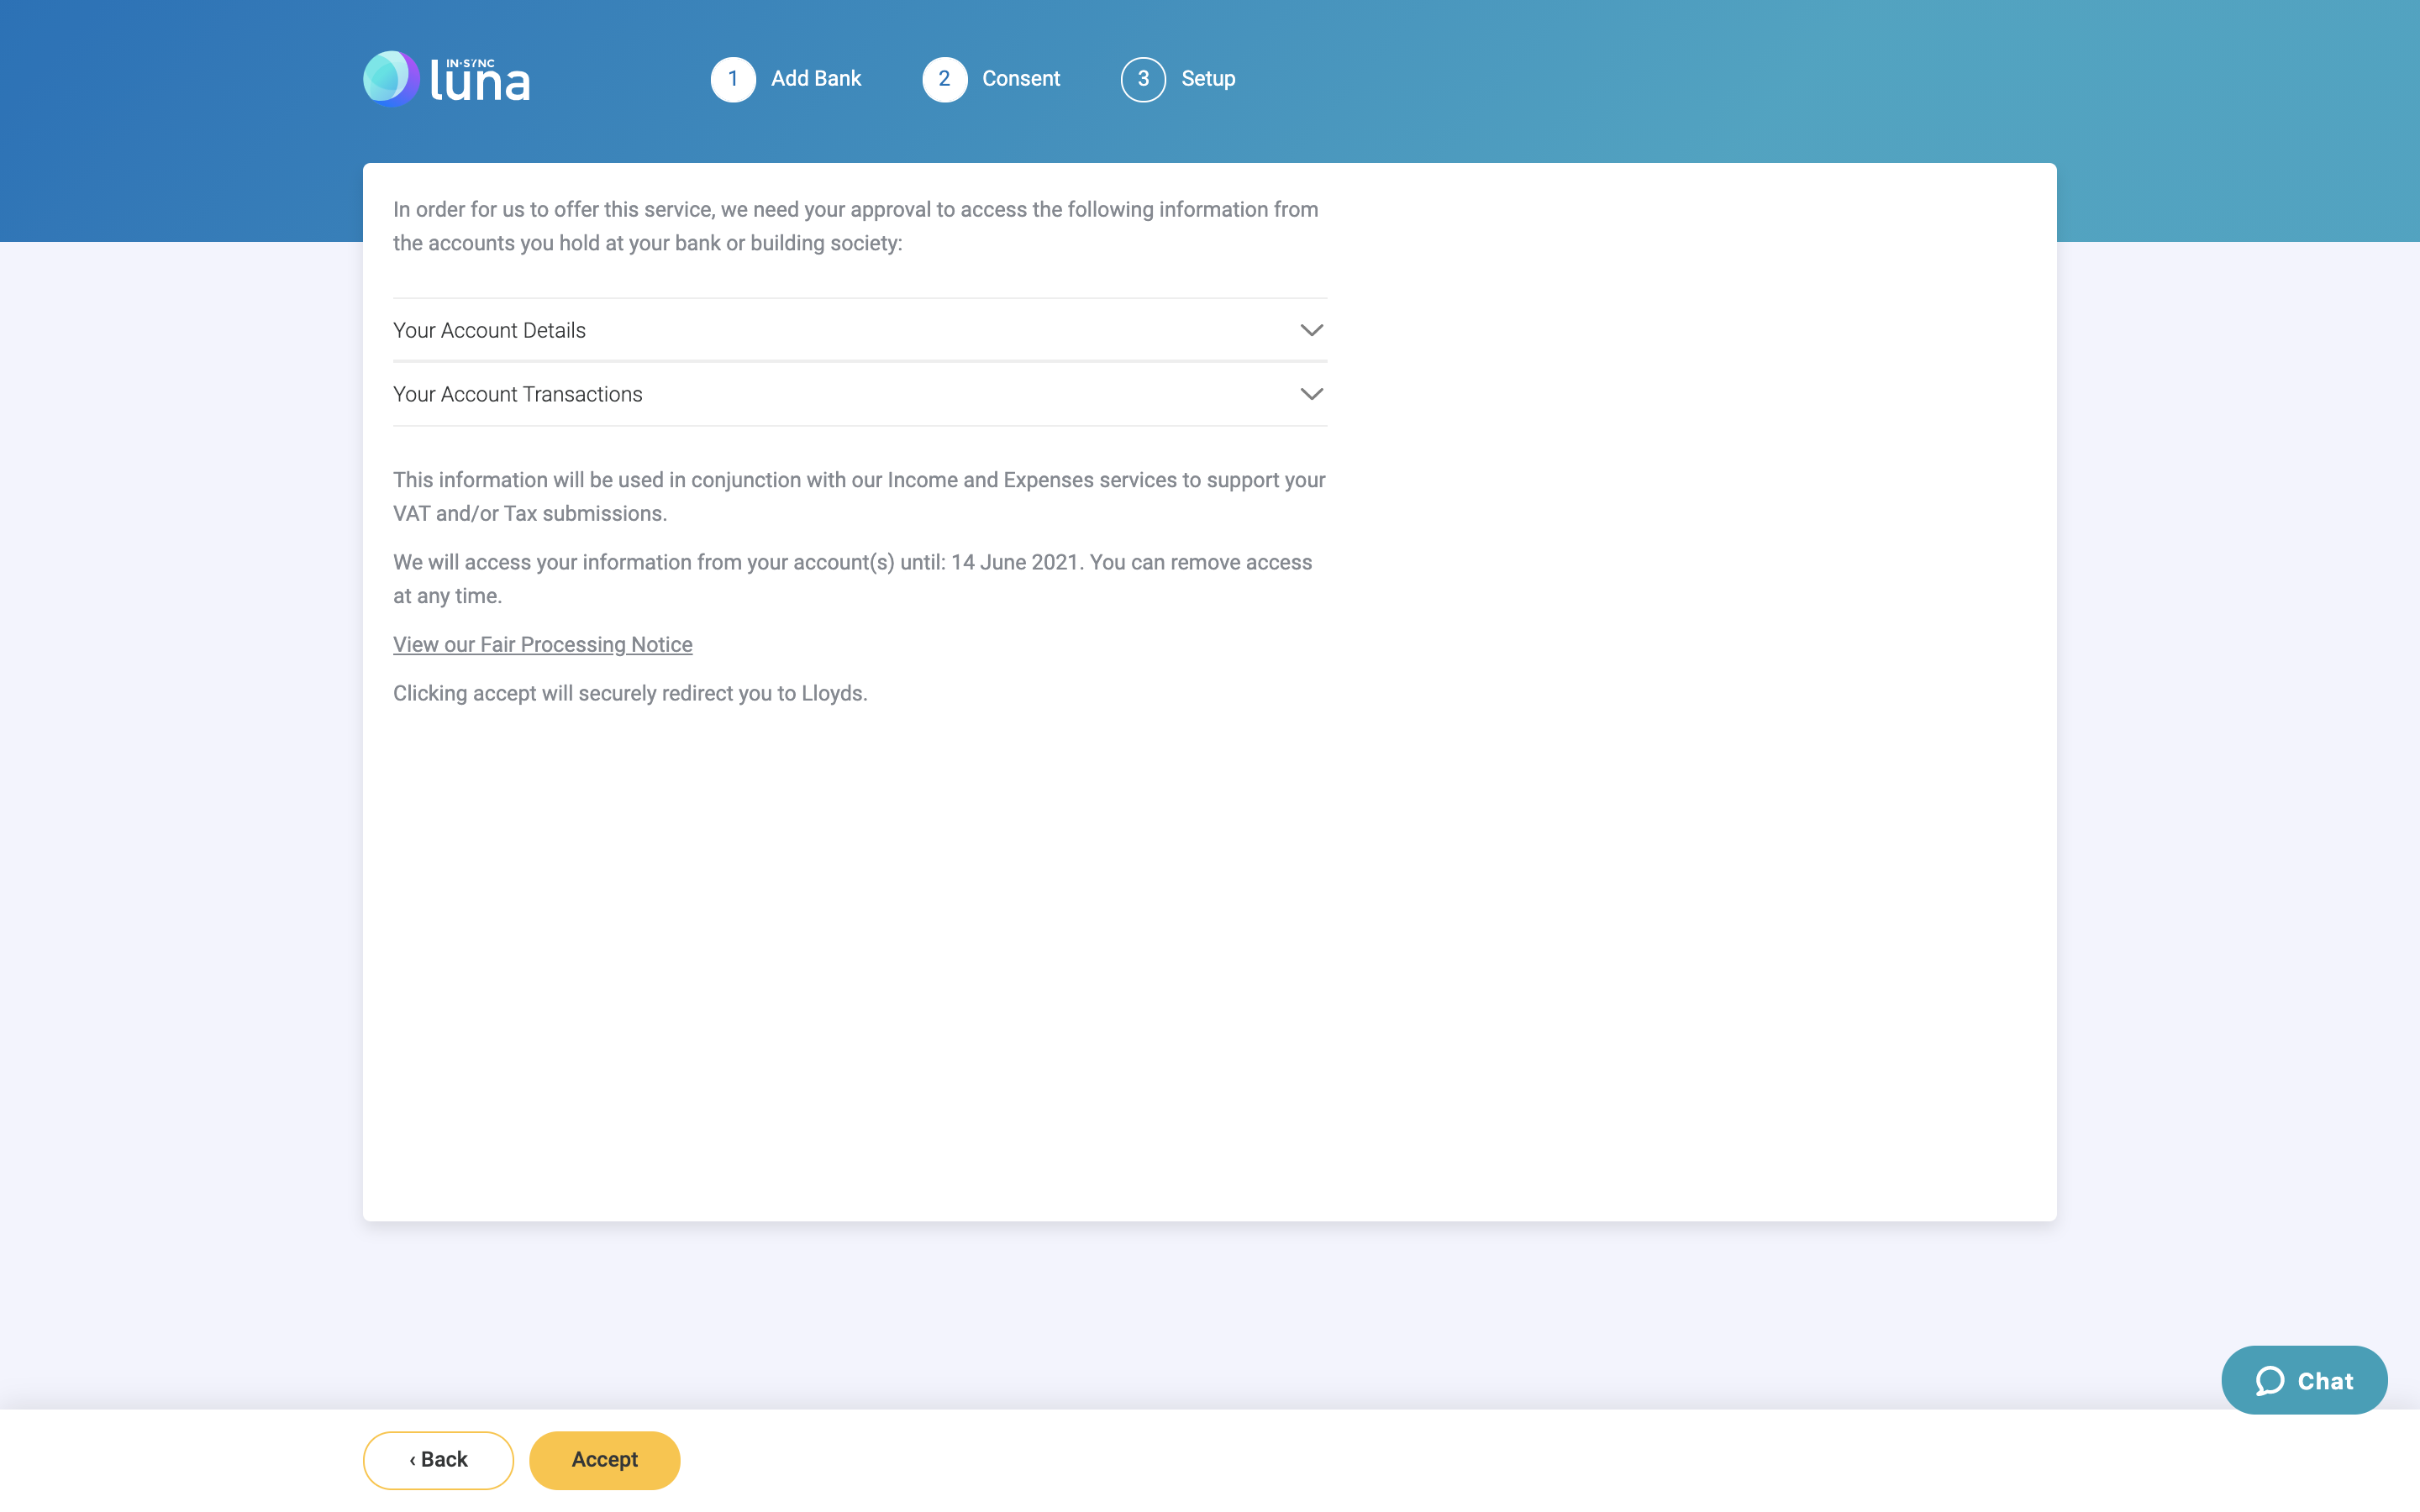
If you are happy with the information click 'Accept' to continue.
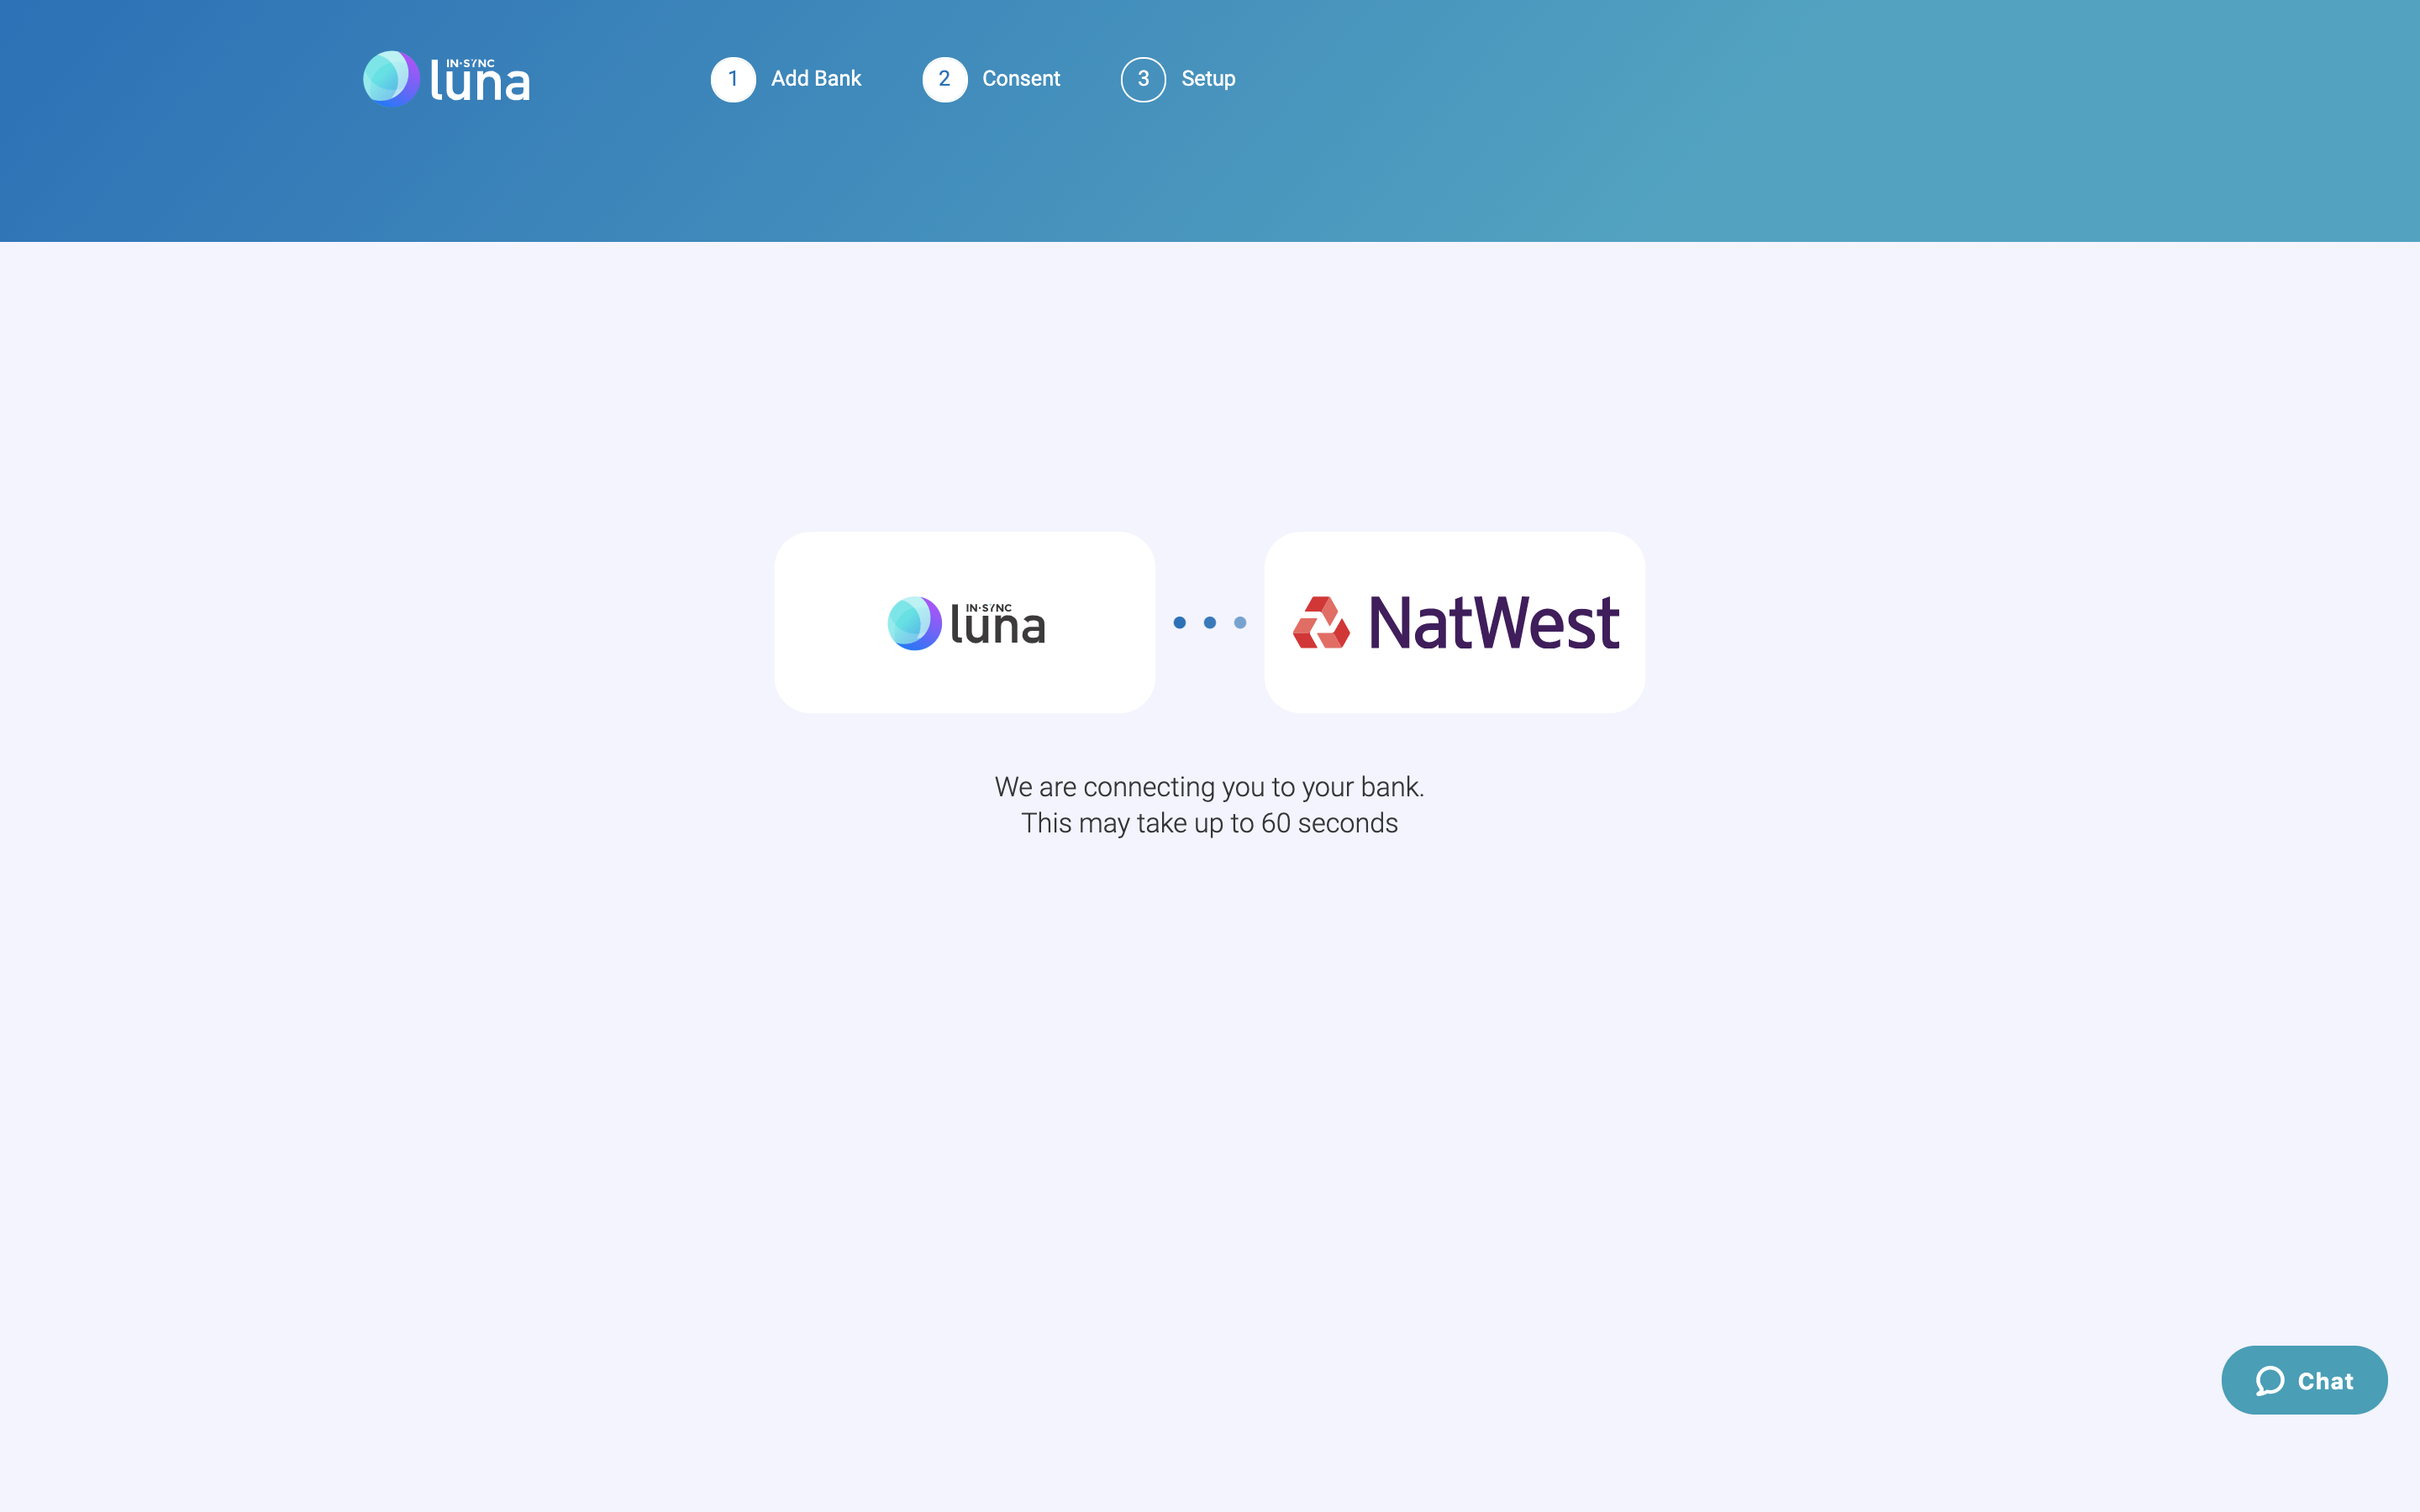
You will then be passed to your own bank’s portal. If you are on a desktop this will be the bank’s website. If you are on a device like a phone or tablet you will be passed to the bank’s app as long as this has been installed.
At this point, IN-SYNC have no control of your experience, but you should see somewhere on your screen an option to authorise your account to be connected to Luna.
Once this is authorised you will be passed back to Luna where you will see the following screen offering to auto-classify all of your transactions as 'Business'...
Important: If your account(s) are for business purposes only, then you should make sure the "Auto-classify as business" checkbox is ticked. This means you won’t need to manually classify your expenses in LUNA as it will do it for you.
If you have a mixture of personal AND business expenses on your bank account then you should un-tick the "Auto-classify as business" checkbox. This means you will be able to manually classify your transactions in LUNA. An example might be a £45 Tesco shop as a 'Personal' expense and a £100 Screwfix shop classified as 'Business'.
You can also auto-classify all of your expenses as business only at any point by visiting "Settings" > "Bank accounts" and then clicking on your bank panel. You will then see the following screen...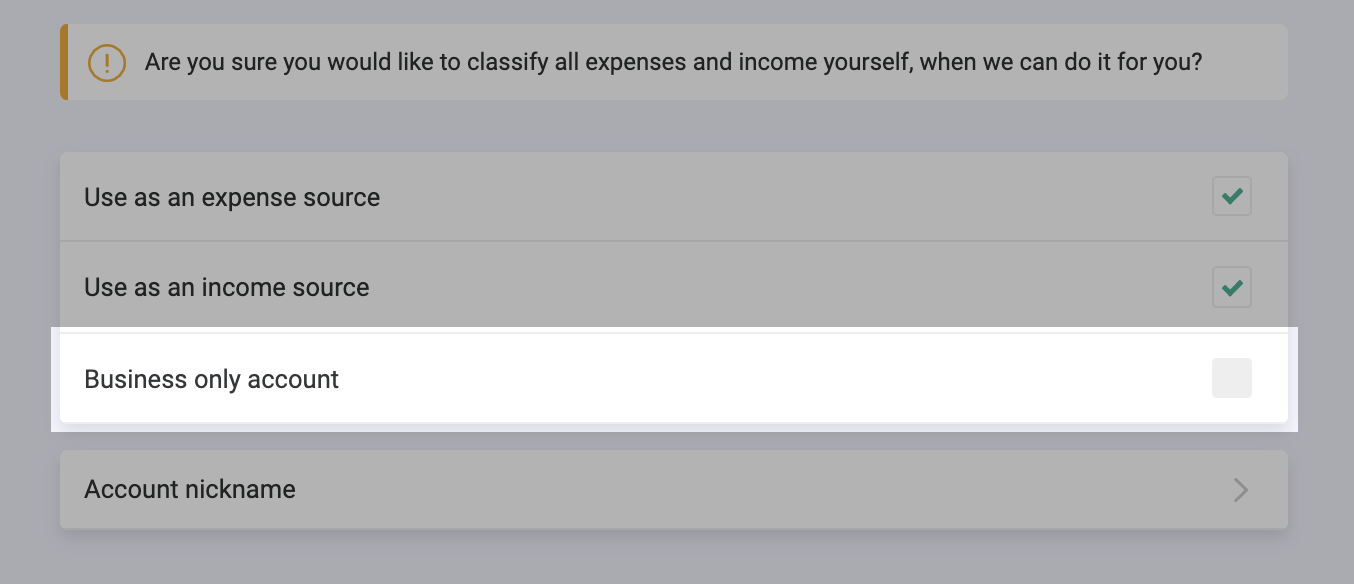
Simply tick the box on the "Business only account" and click save so Luna can make all future expenses classified as business. Once activated you will no longer need to manually classify your expenses as Luna will do it for you.
Important: If you wish to deselect this option in the future and return to manually classifying expenses you will need to go to Settings page and deselect "Business only account".
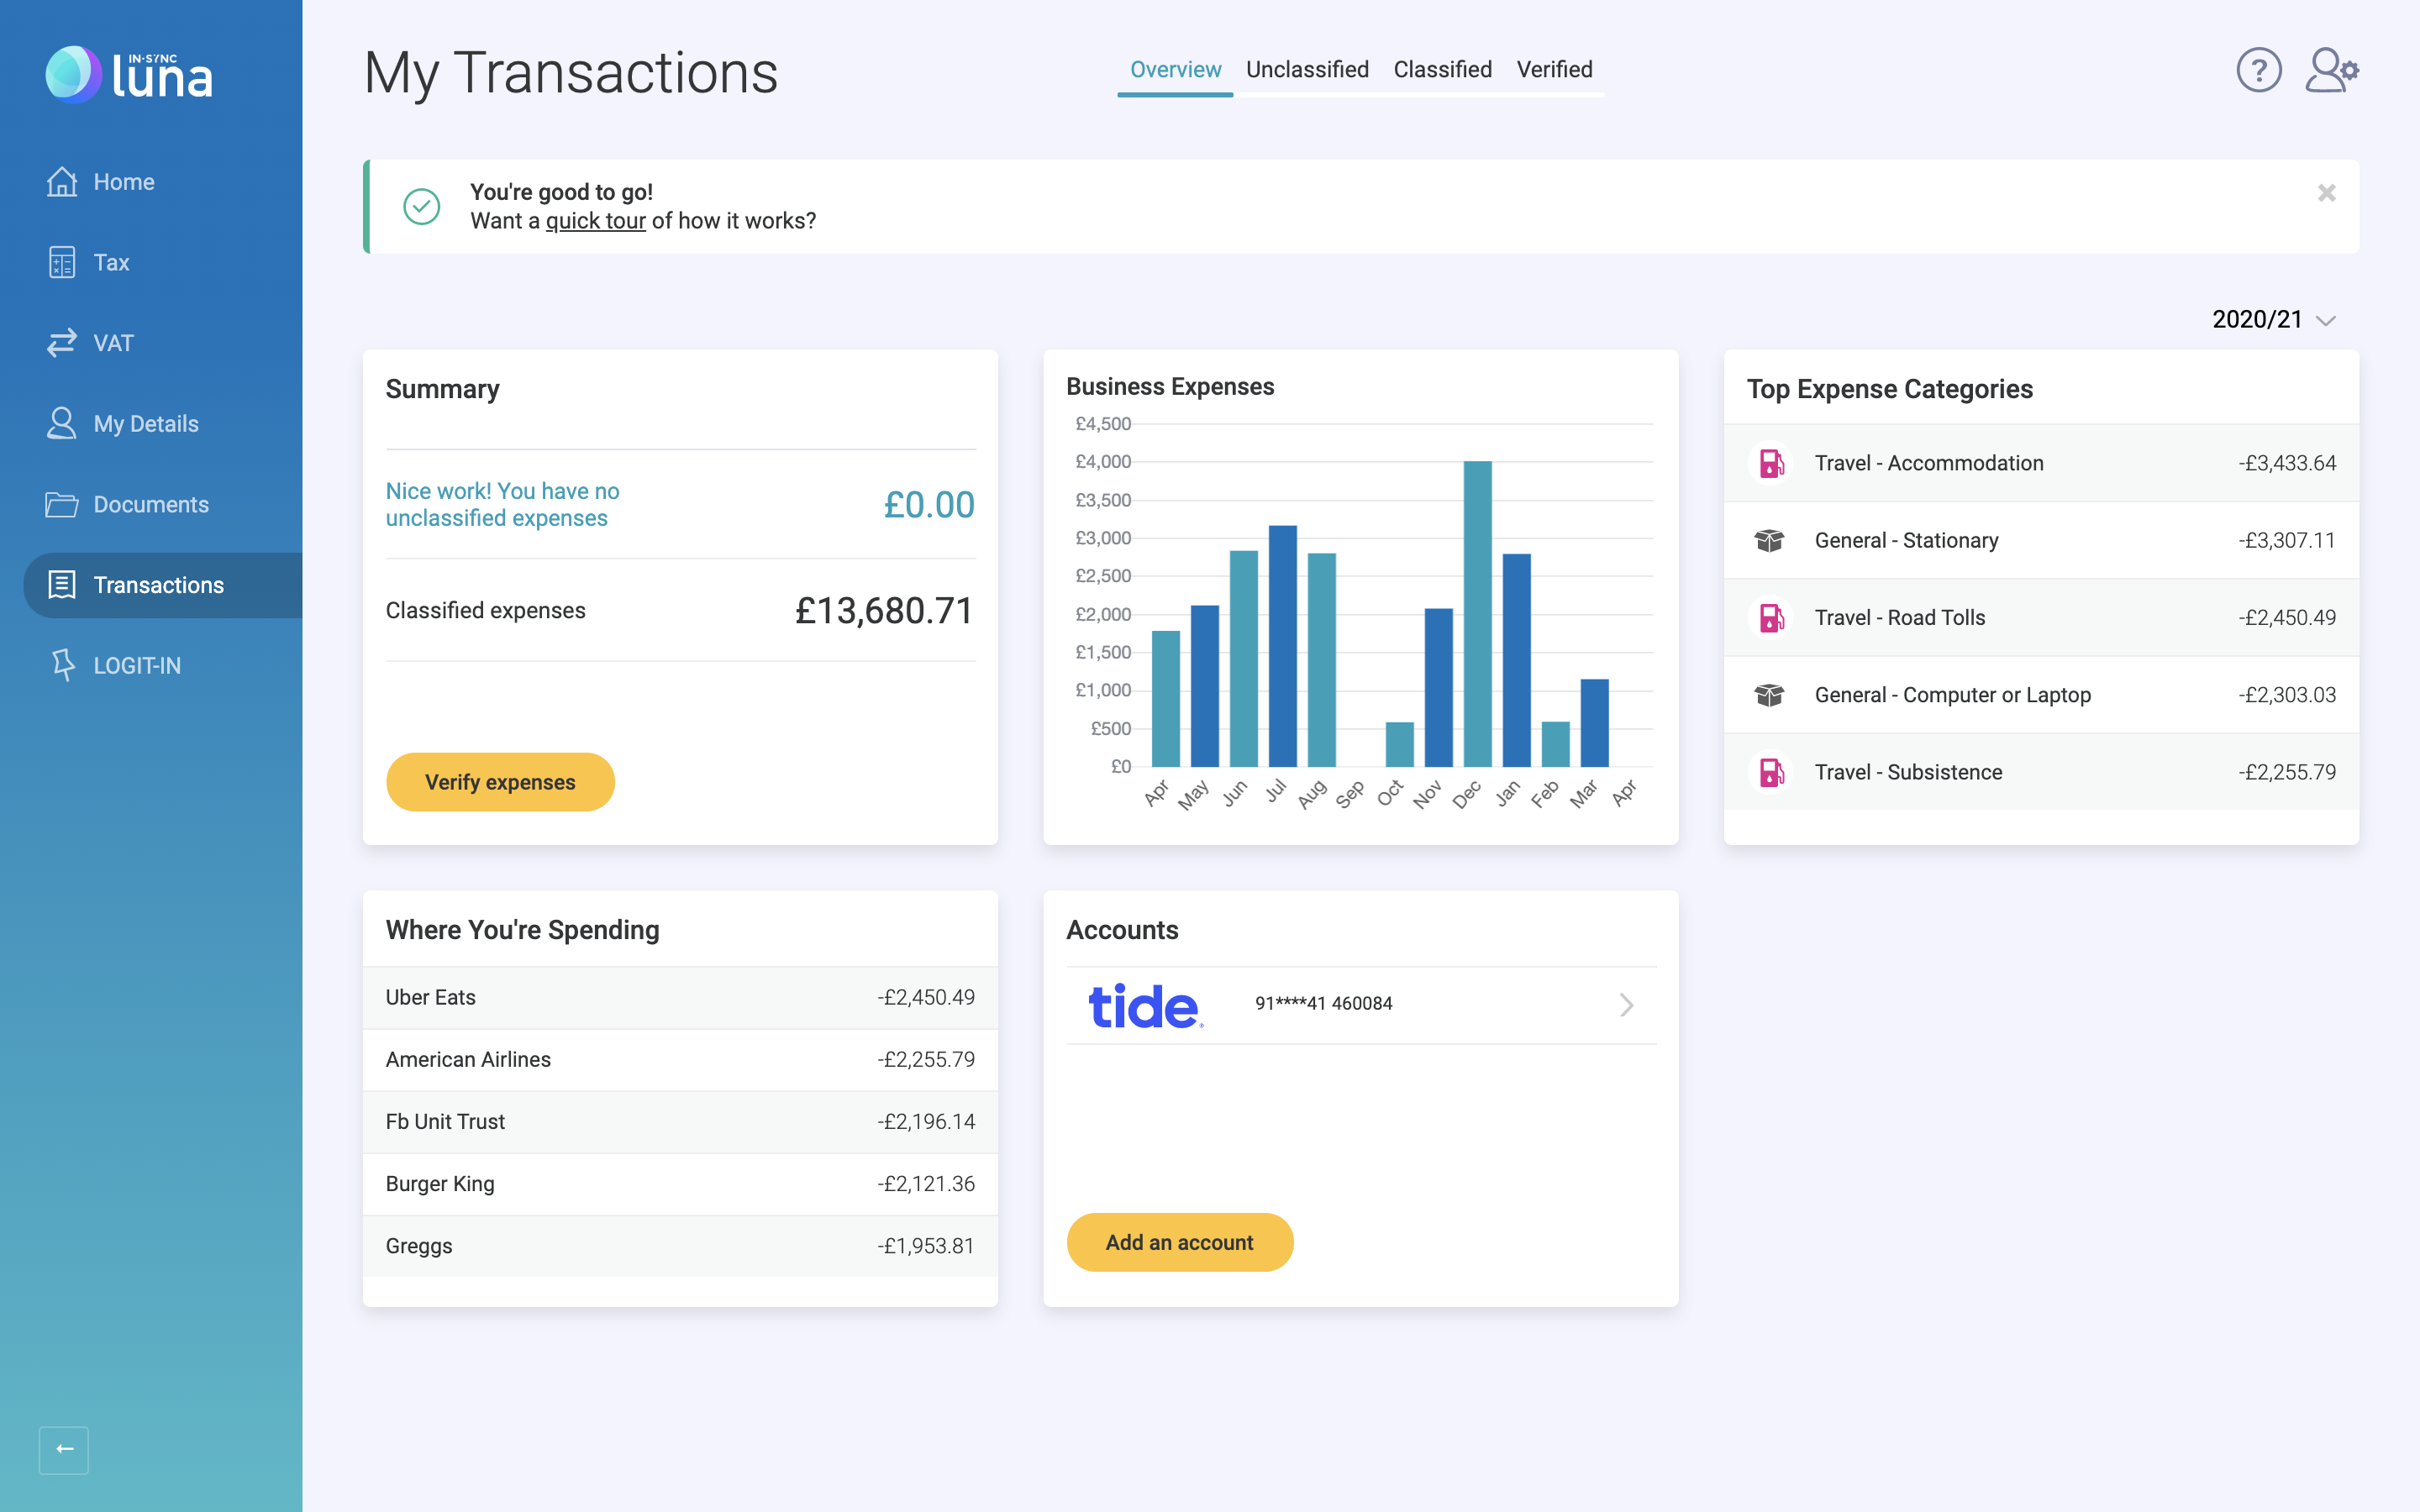
Finally, click on your new bank panel to view your transactions and a breakdown of your income and expenses.
View the video guide below: